Internal Rotary Inspection System (IRIS) is effectively a pulse echo immersion ultrasonic technique. It is an advanced Non-Destructive Testing (NDT) technique used to inspect generally small diameter pipes and tubes. IRIS is applicable to multiple industry sectors where small bore tube and pipe heat exchangers are found.
Applications
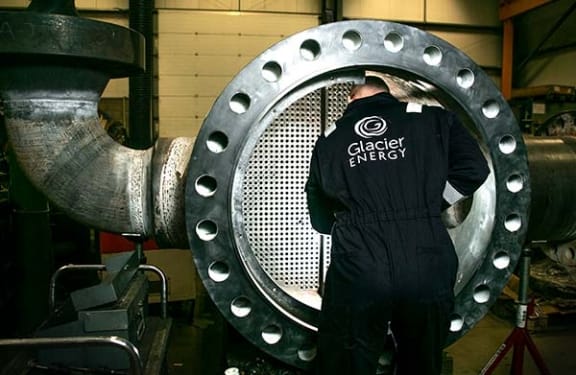
IRIS is commonly used to inspect boilers, shell-and-tube heat exchangers, fin-fan heat exchanger tubes, air coolers, feed water heaters and condensers.
It is particularly versatile as it is suitable for both ferrous and non-ferrous materials, and can be used on a wide range of tube diameters and wall thicknesses.
IRIS is used as an extremely good quantification tool for the other “eddy current” techniques but can also be used as a stand-alone method.
Tube wall thicknesses can be measured extremely accurately even in thin wall tube due to the utilization of high frequency, focused ultrasonic transducers.
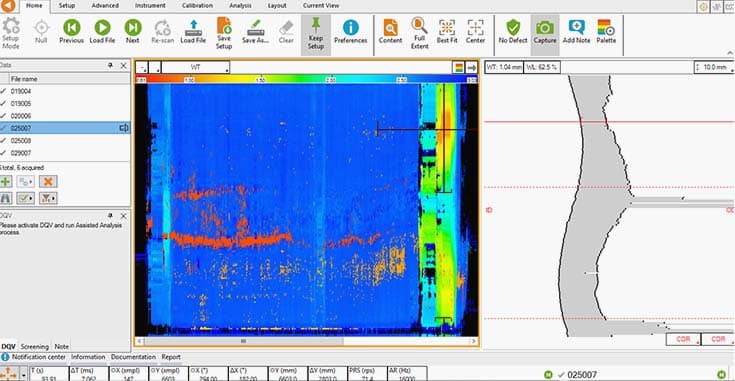
Tubes are required to be very clean (back to bare metal) in order for the ultrasound to penetrate the material without hindrance from deposits and debris. A, B, C, D and “Cylindrical” scans can be analysed and interpreted and so geometry of defects can be “mapped”.
Method
The IRIS turbine and probe assembly is inserted into a tube that is flooded with water, and when the probe is retracted, data is collected in real time and stored, ready to be analysed or indeed can be analysed live at time of data collection.

The probe consists of a turbine housing which holds a rotating mirror positioned at 45° which in turn directs the ultrasonic beam into the tube wall at 90°. The mirror housing is driven by a small turbine that is rotated by the pressure of water being pumped in. As the probe is pulled, the spinning motion of the mirror results in a helical scan path. The ultrasonic beam allows detection of metal loss from the inside and outside of the tube wall.
